F&D Start to Finish: How To Install Laminate Flooring
Looking to install a new laminate floor?
We’ll walk you through these easy-to-do steps to give your space a new look!
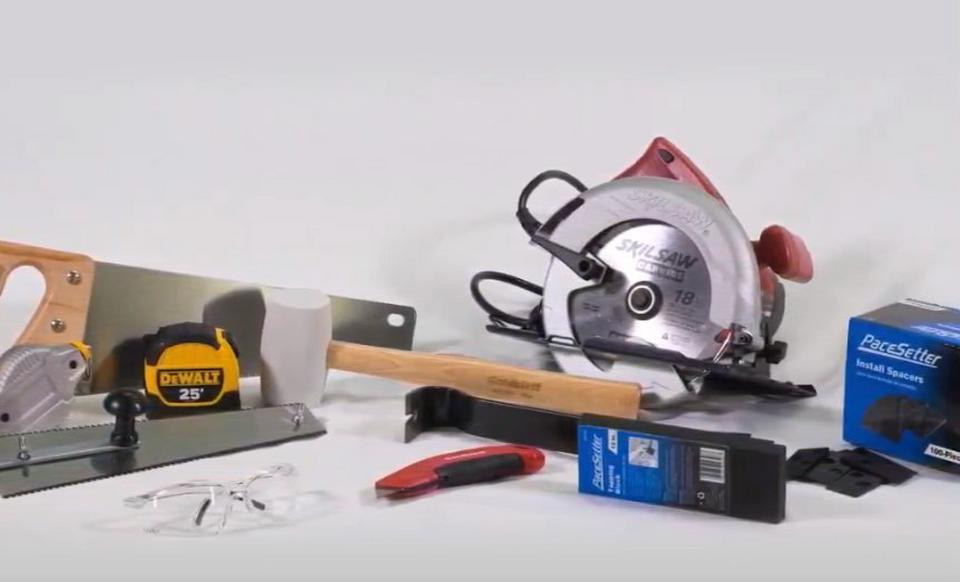
What Will I Need?
To install laminate flooring, you’ll need the following items: safety equipment, kneepads, moisture meter, measuring tape, a rubber mallet, wall spacers, saw (hand, miter, or circular), a small pry bar, a door jam saw, and underlayment.
Remember to purchase 10% additional flooring to account for any cutting waste.
Let's Install Laminate Floors!
Remove the existing floor and molding and make sure the floor is clean and smooth.
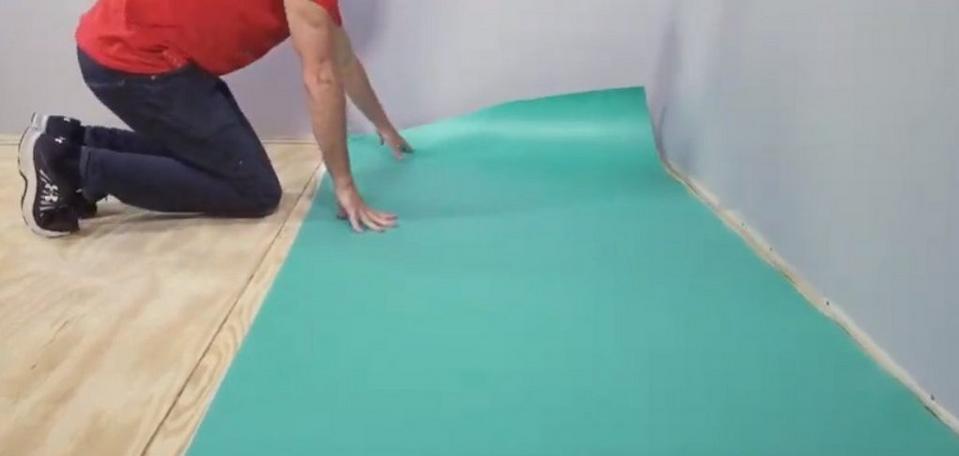
Install an underlayment, making sure that the top surface is installed as recommended by the manufacturer. Ensure that the underlayment is flat and is not overlapping.
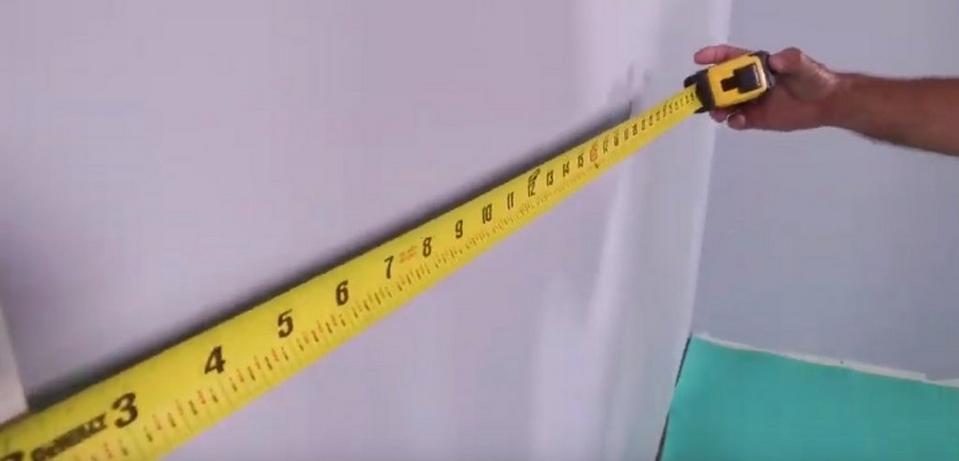
Measure
Measure the room prior to starting the installation of your floor. Set the first plank on a starting line with the tongue side facing the wall, make sure to leave an expansion gap by using your spacers.

Install!
Lay your planks from left to right inserting the tongue into the groove at approximately 45° until the planks lock together. Use cut planks at the start of every row making sure the joints are properly staggered. Use this method to complete your room.
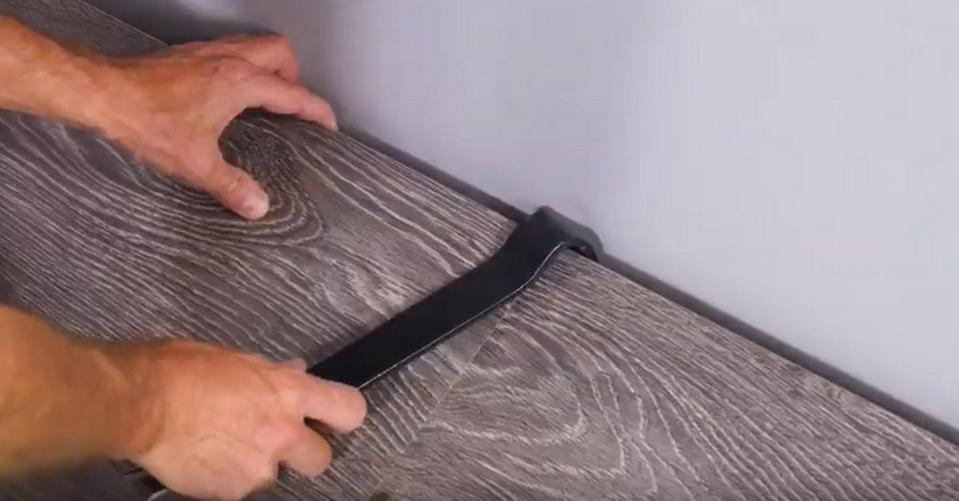
Once you’ve finished laying your floor use a pull bar and hammer on the last row to lock it into place. Allow it to set for 24 hours. Finish by removing the wall spacers and installing or replacing moldings, baseboards, or transition pieces.
Always read and refer to the manufacturer’s instructions for your specific laminate floor.
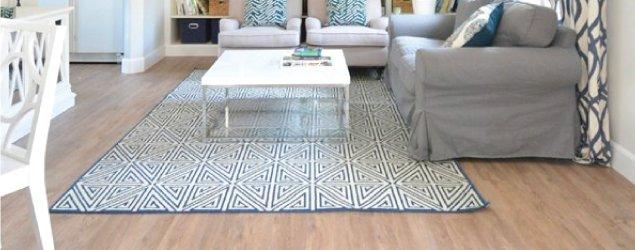
You can find a variety of DIY-friendly options at your local Floor & Decor and at flooranddecor.com!
Watch the full video for even more installation tips:


Resources

INSPIRATION

VIDEO