F&D Start to Finish: How To Install Engineered Hardwood Floor
Looking to install an engineered hardwood floor?
We’ll walk you through these easy-to-do steps to give your space a new look!
What Will I Need?
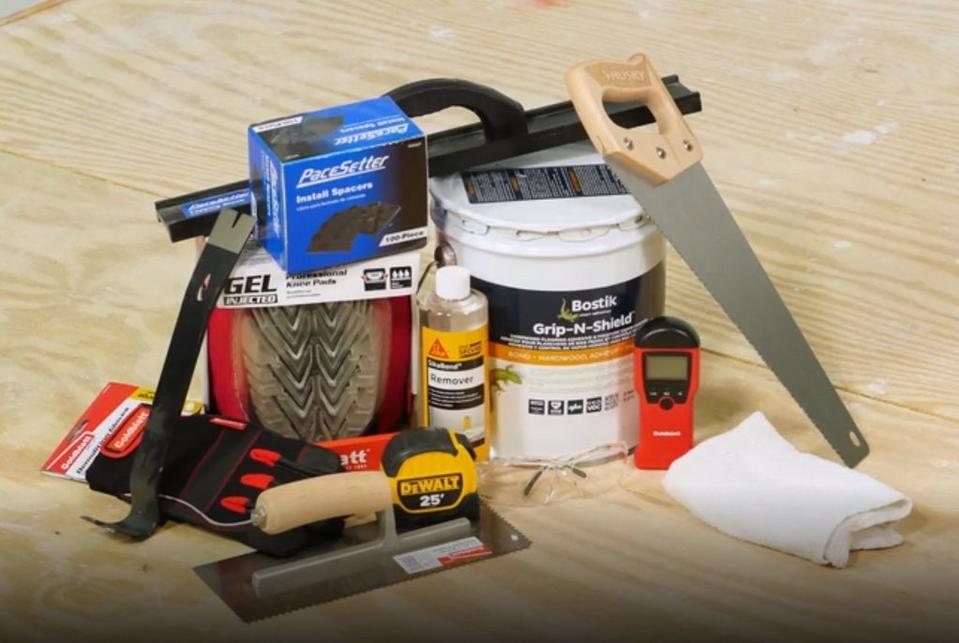
To install an engineered hardwood floor, you’ll need the following items: safety equipment, kneepads, moisture meter, measuring tape, tapping block, wall spacers, saw (hand, miter, or circular), pull bar, wood flooring adhesive, trowel, Sikabond Remover, and a clean rag.
Let’s Get Started!
Before you start your installation, find the engineered hardwood of choice! One of our many in-house design experts can help you make your decision with a free design appointment at your local Floor & Decor!
Of course, read all of the technical data sheets and instructions included in the packaging before starting you start your project.
Prep!
Place the flooring in the room you’ll be installing in for at least 72 hours so the material can acclimate to room temperature. Be sure that your subfloor is clean, smooth, and dry before installation.
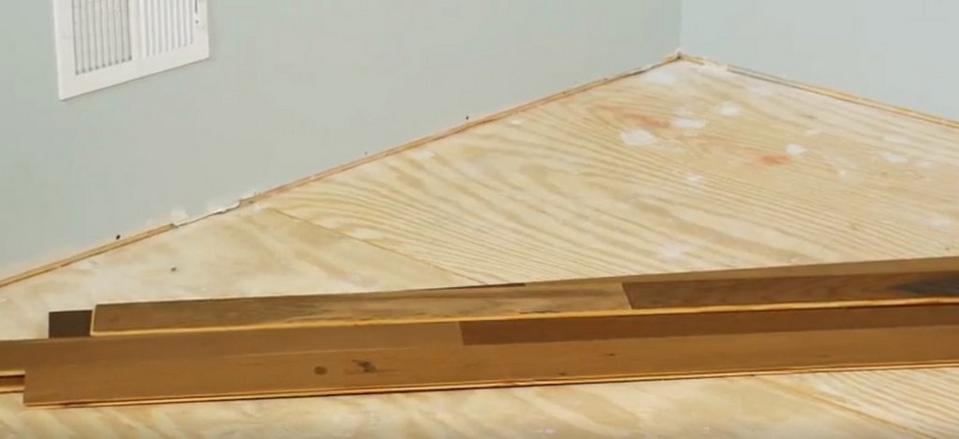
Lay out your entire floor before installing. (This is called “racking” the floor.) When racking, make sure to stagger the end pieces so they are 4 to 6 inches apart for added support.
To be sure the first and last row are the same width measure the room and then calculate how many full planks fit the room. If the planks do not fit evenly, don’t worry! Divide the remaining measurement in half--that will equal the width of the first and last row.
Install!
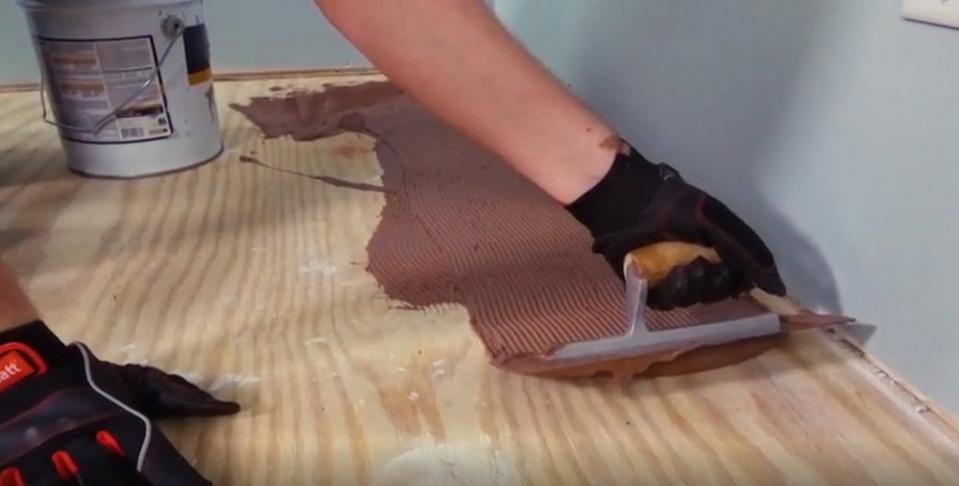
Place ½ inch spacers between the first row of floor planks and the wall to create an expansion gap. Place the first two rows and mark the space using a pencil or carpenters chalk. After stirring your wood adhesive, use your trowel to fill in the first two rows. Use a manufacturer recommended trowel size and hold at a 45-degree angle when applying the adhesive.
Lay your first row of flooring with the tongue side facing the room. After laying the first row, remove the first plank to ensure that at the adhesive is covering at least 98% of the plank.
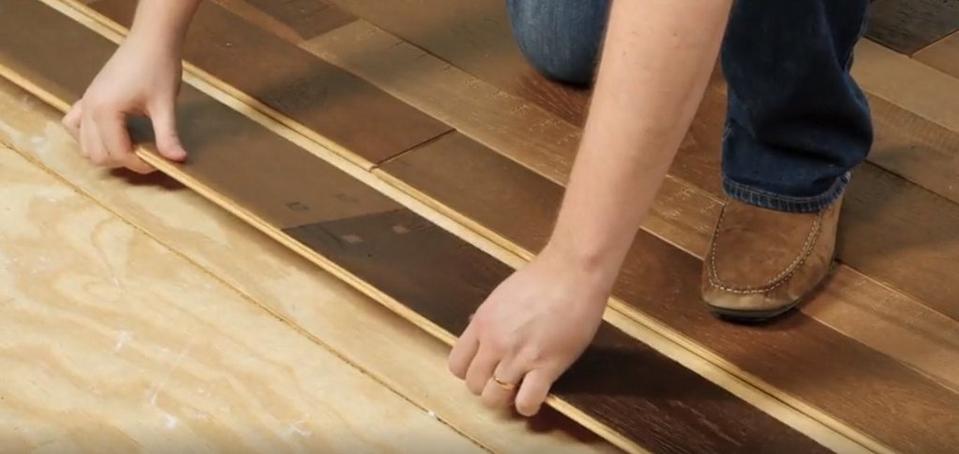
When you are ready to adhere your next row, gently tap the planks together with a tapping block, moving evenly across the row to secure them together.
Almost There!
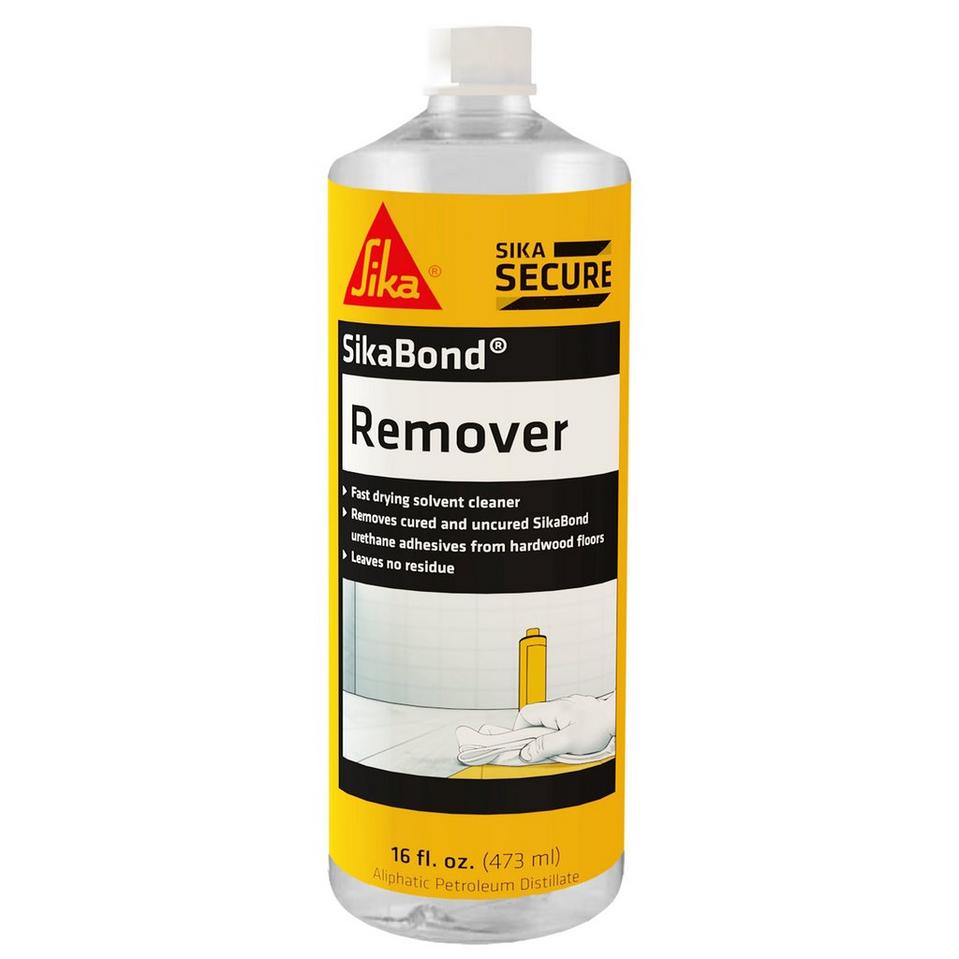
Clean as you go to avoid hardening of adhesive on top of your newly installed flooring. Use a clean rag with SikaBond Remover to wipe up any excess adhesive with ease.
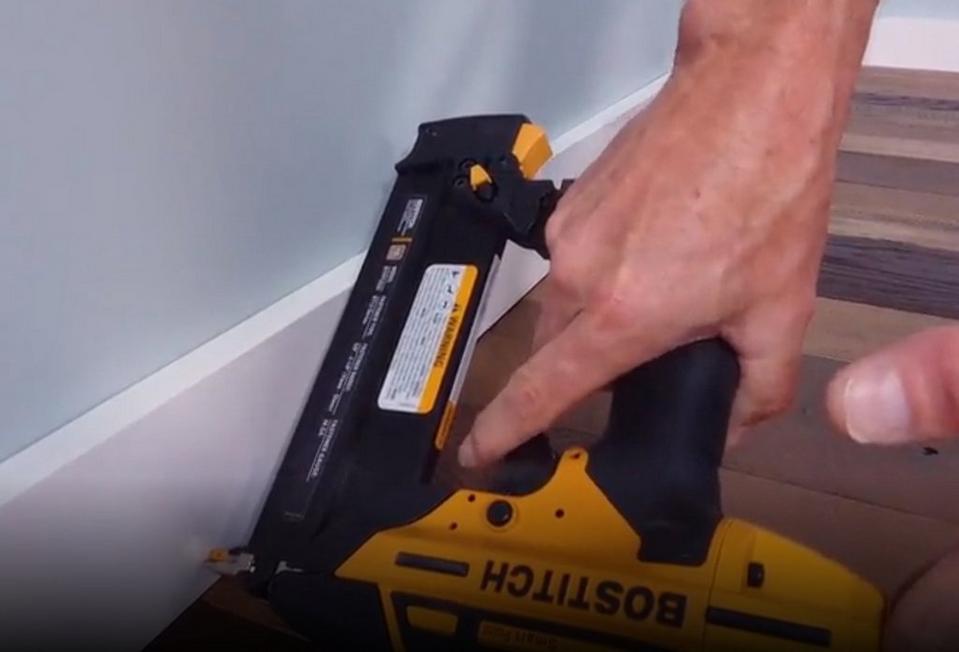
Once you’ve finished laying your floor, allow your newly installed floors to sit for 24 hours. Finish by removing the wall spacers and the moldings or transition pieces.
Now you’re ready to install your own engineered hardwood flooring! If you want to tackle a project yourself, you can find a variety of DIY-friendly options at your local Floor & Decor and at flooranddecor.com.
Watch the full video for even more installation tips:


Resources

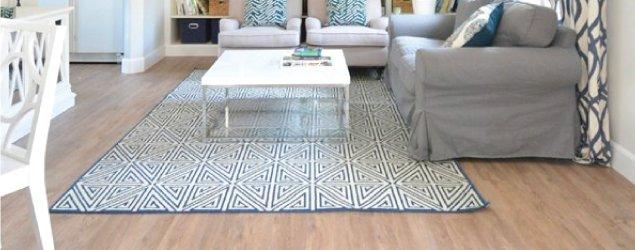
INSPIRATION

VIDEO