F&D Start to Finish: How to Install HydroShield®Flooring
Exclusive to Floor & Decor, HydroShield® is a water-resistant, wood-based laminate that looks and feels like real hardwood.
It resists stains, scratches, and dents, making it a great choice for busy homes with kids and pets. Hydroshield planks are also easy to install because they’re made with a use a simple locking system.
What Supplies Will I Need?
HydroShield® flooring, pull bar, tape measure, work gloves, seam tape, utility knife, dust mask, safety glasses, knee pads, felt protectors, tapping block, rubber mallet, moisture meter, 3/8” spacer, silicone sealant
How Much Flooring Will I Need?
You’ll want to calculate the area of your floor space, and then add an additional 10% for cutting to ensure that you can get the right amount of flooring needed to create a consistent look. So, getting started, plan out the number of rows required and split any difference between the first and last row, if needed.
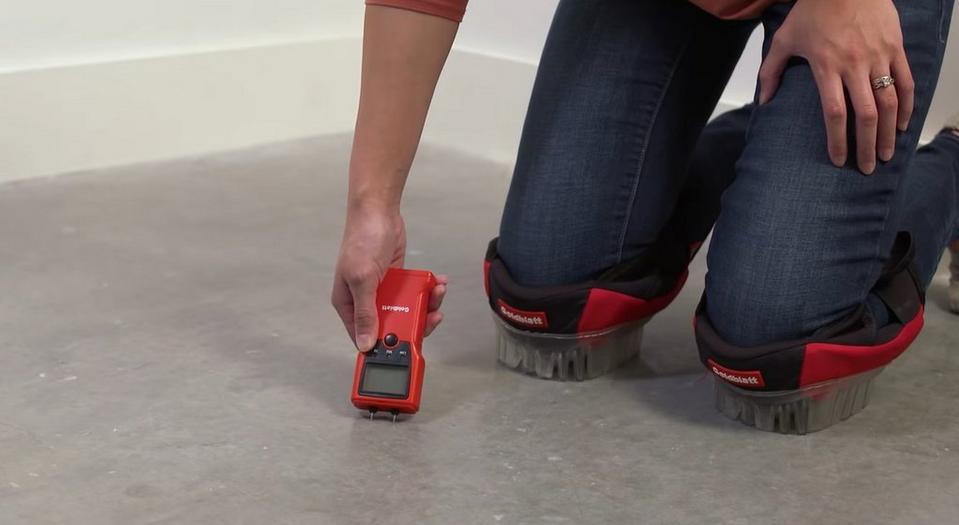
Prep!
Let your HydroShield® flooring acclimate in the room for at least 48 hours before installing. In that time, make sure the subfloor is clean, dry and level.
Plan The Flooring Layout
Without locking them together, loosely lay out the planks for the first two rows to get the visual effect of how the finished floor will look, adjusting the pattern as desired.
For maximum stability, each plank should be at least 12 inches long and the joints should be staggered between the rows.
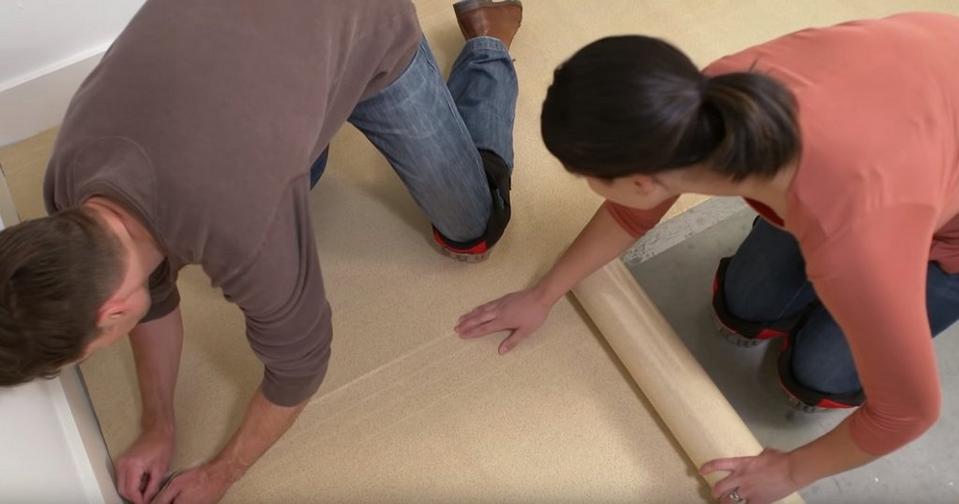
Install Underlayment
When installing over concrete or below grade, a moisture-proof underlayment should be used to prevent any potential water damage.
Install!
Before placing your first plank against the wall, remove the tongue section from the top and side with a circular or table saw. Install the first row by inserting the tongue of one plank into the groove of the other, gently tapping to make sure the joints are locked in place.
To allow room for expansion, use spacers between the flooring and the wall. All planks used in this first row should have the top tongue section removed to allow them to fit flush against the spacers.
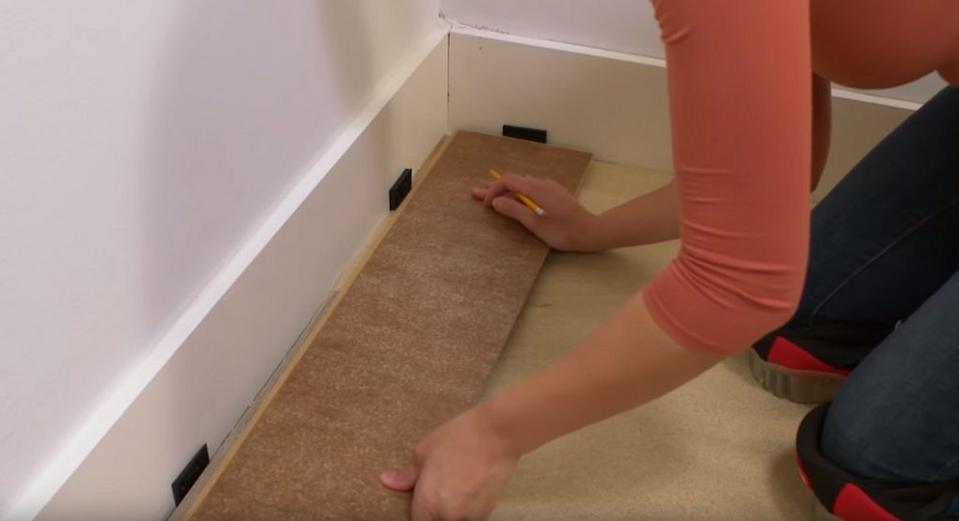
Measure the last plank of the first row, cutting as needed to fit it in place. Use the leftover piece, if it’s at least 12 inches in length, to start the second row.
To maintain variety in the pattern, work out of multiple boxes at the same time.
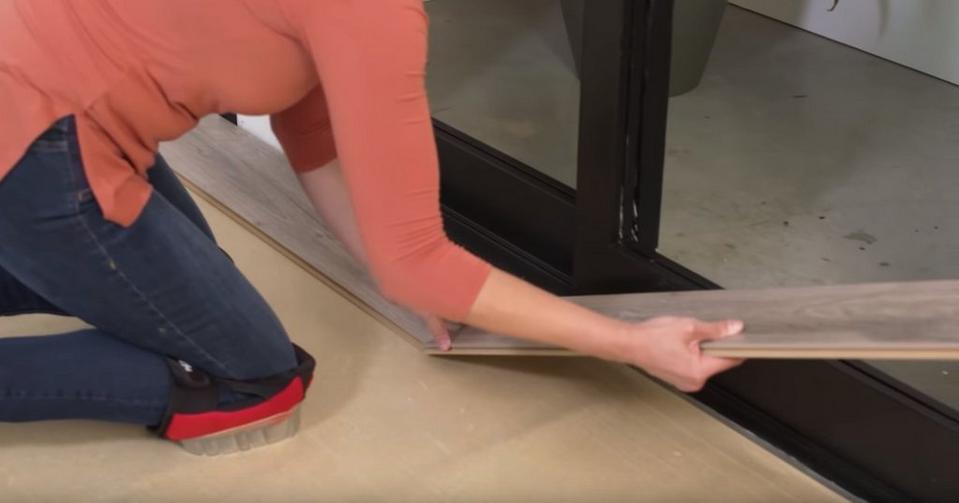
Continue assembling the floor, locking and tapping the planks into place. If you begin any row with a new plank, you’ll first need to cut off the left-hand tongue side of the end joint. This will keep all the edges flush up against the spacers as you continue laying your flooring.
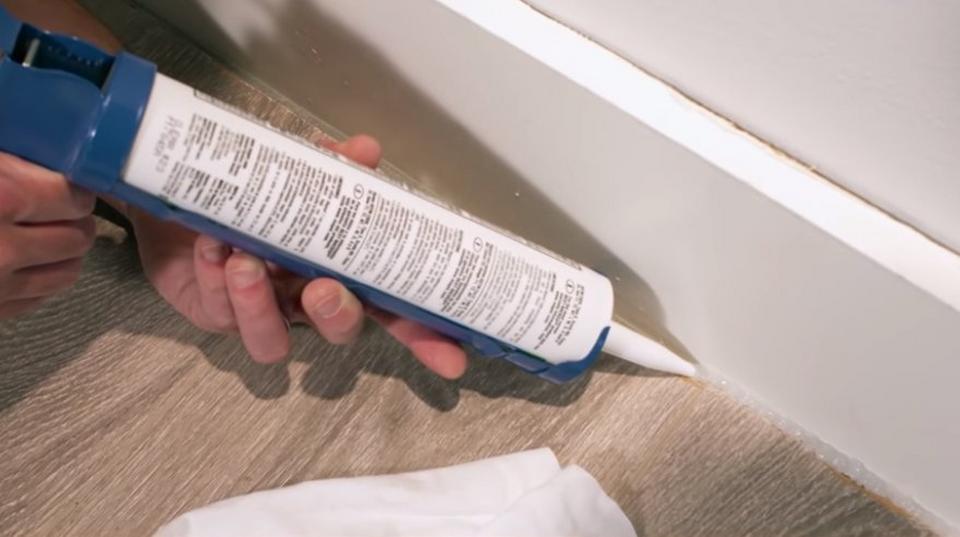
Finish
After you’ve installed the flooring and removed the spacers, fill the expansion gaps with foam, which will allow the floor to float naturally.
To keep any water from getting under the floor, add a 100% silicone sealant along the entire perimeter of the room and around any fixed objects, including the molding.
HydroShield® is water-resistant for up to 24 hours and can be wet mopped and used in kitchens, mudrooms, and even full bathrooms.
Watch the full video to see these installation tips in action:

Resources

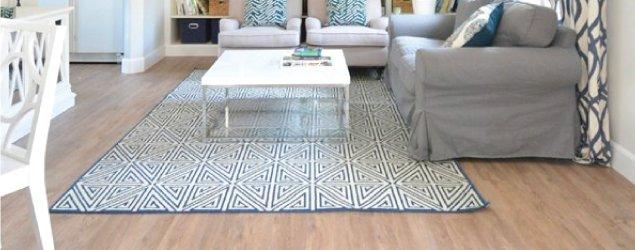
INSPIRATION
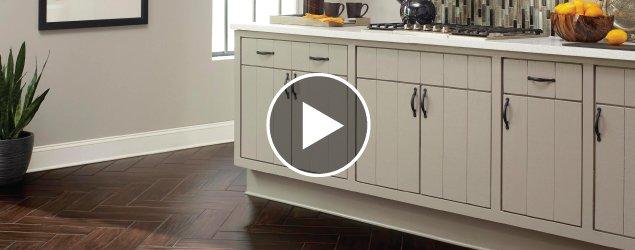
VIDEO