F&D Start to Finish: How To Install A Mosaic Tile Backsplash
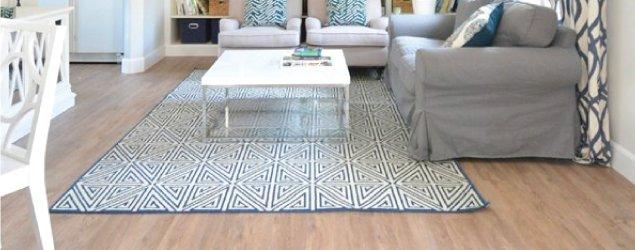
Looking to update your kitchen or an accent wall? Transform your space by adding a tile mosaic backsplash.
We’ll walk you through these easy-to-do steps to give your space a new look while staying on budget.
What Will I Need?
To install a mosaic tile backsplash, you’ll need the following items: a roller applicator, a laser level, safety equipment, cutting tools for tile, measuring tape, a sponge, spacers, trowel, a grout float, grout mixer, a bucket, Mapei Eco Prim Grip, mortar, grout and a cloth or rag for cleaning.

Let's Get Started!
Before you start your installation, choose your tile! One of our many in-house designers can help you make your decision with a free design appointment at your local Floor & Decor! Make sure your wall is clean, dry, and smooth. If there’s any imperfections your wall, you’ll want to patch your walls first.
Prep!

Turn off your power and remove and existing outlet covers. You’ll then want to cover and tape off your countertops to protect them during installation. Be sure to remove any appliances along the wall.
Prime!

Use a roller brush to apply the Eco Prim Grip to insure your mortar will adhere to the wall. Level and draw a vertical line using a laser level in your working area. This will be where you’ll start.
Measure and dry lay the tile to ensure the tiles are cut where needed to fit in the working area for the backsplash.

Install!

First, make sure you have read all technical data sheets and instructions on the packaging before starting.
Start with a tile and glass mortar, pour into a bucket and add the suggested water ratio described on the packaging. Begin mixing the mortar and water until you have reached a peanut butter-like consistency.
Apply the mortar and water mixture using your square trowel. Once you’ve applied the mortar, start the installation from the bottom up with a 1/8 inch space at the bottom, using spacers to ensure you get the desired grout lines of your choice.
Once the setting material and tile are up on the wall let dry for 24 hours.
Grout!

Start to apply the grout over the tile in a diagonal application pressing the grout into the grout joints using your grout float.
When applying the grout leave it on the tiles for a few minutes and then use a sponge to wipe off the access grout but make sure that your sponge is not over saturated. When removing access grout be careful to not remove the grout from the grout lines. Then let the grout dry for 24 hours.
Almost there!

You’ll want to apply a sealant once your grout has dried, this will protect the grout and make for easy cleanup! Make sure to use a haze remover if there happens to be any additional grout residue on your tile. Don’t forget to reinstall your outlets!
In no time, you’ll be able to transform your space! You can find a variety of DIY-friendly options at your local Floor & Decor and at flooranddecor.com!
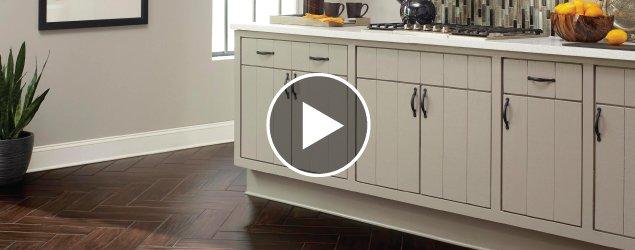
Watch the full video for even more installation tips:

Resources

INSPIRATION

VIDEO