F&D Start to Finish: Install NuCore Flooring
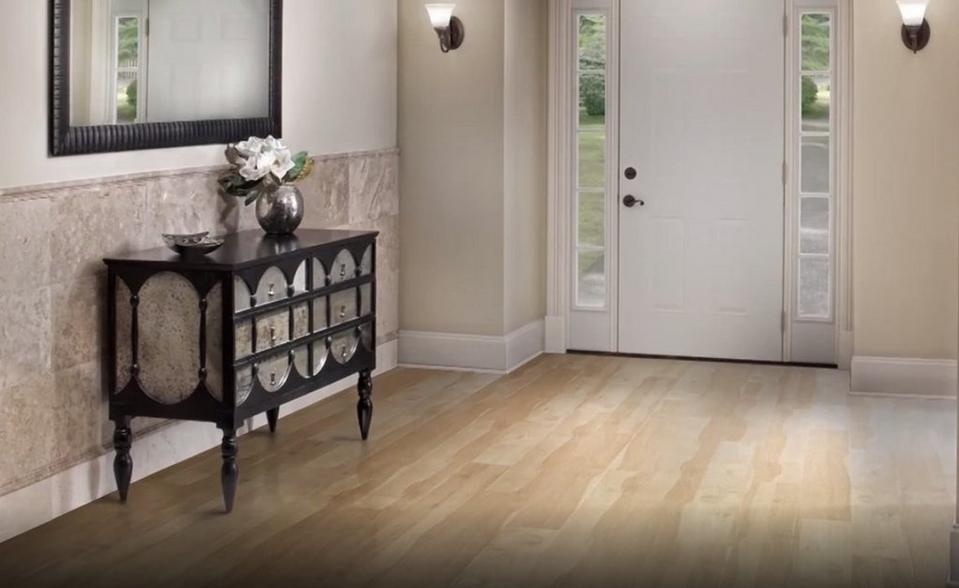
NuCore looks and feels like real hardwood flooring, but it won’t swell when exposed to water. Plus, there’s no acclimation stage required for installation, so you can start installing NuCore the second you bring it home!
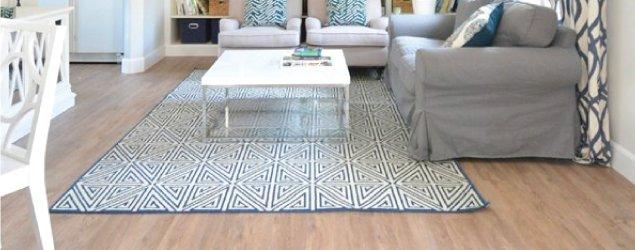
Resistant to mold and mildew, NuCore is perfect for full bathrooms, kitchens, and even basements. It’s also available with hypoallergenic cork backing for a quieter, warmer feel.
Follow these steps for installation:
What Supplies Will I Need?
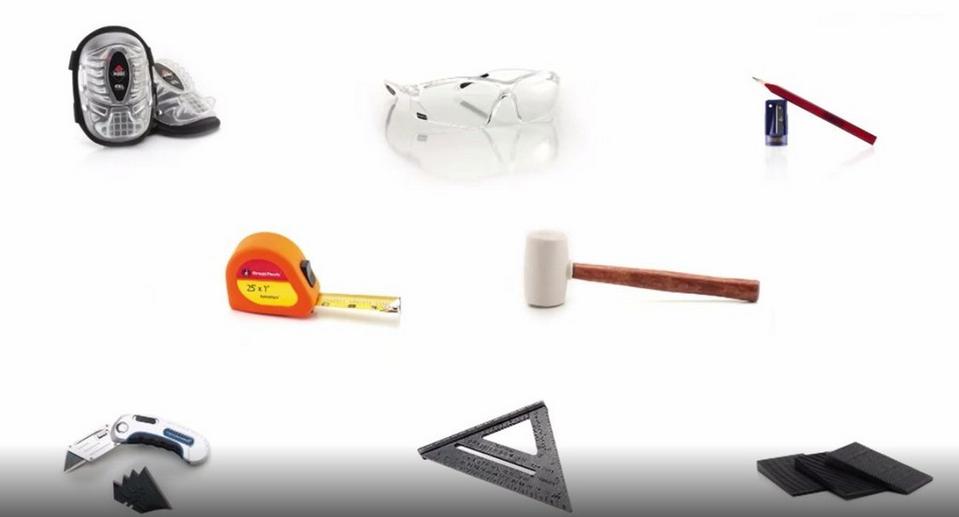
For a NuCore flooring installation project, you’ll need your choice of NuCore flooring, spacing wedges, and a utility knife. Also set yourself up with the basics: knee pads, eye protection, a pencil, tape measure, a rubber mallet, and a square layout tool.
Prep!
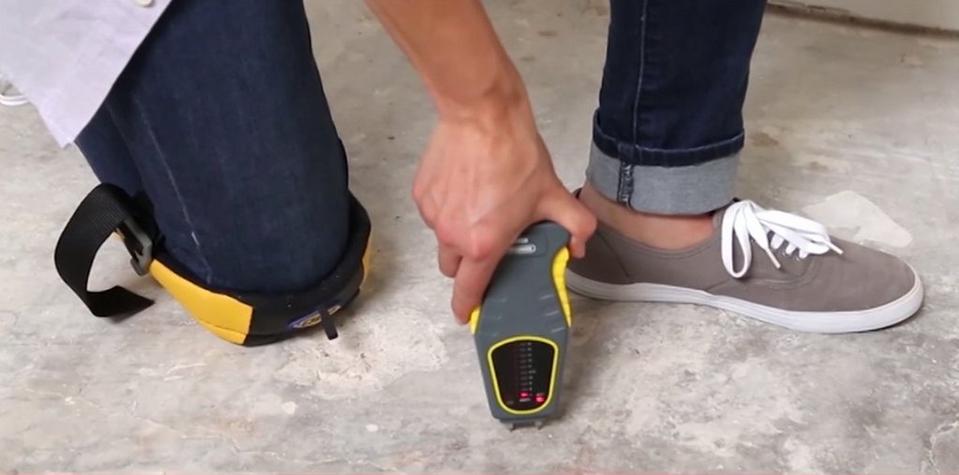
NuCore is rigid and installs over most existing floors with no nails, glue or underlayment needed. Make sure the subfloor is clean, level and moisture free. While NuCore is waterproof, it’s important to ensure that no moisture is present on the subfloor prior to installation.
NuCore doesn’t need time to acclimate*, so you can start using it right out of the box!
(Except for extreme temperatures below 50°or above 100° F)
Install!
The First Row:
NuCore is a floating floor and has a simple click together installation.
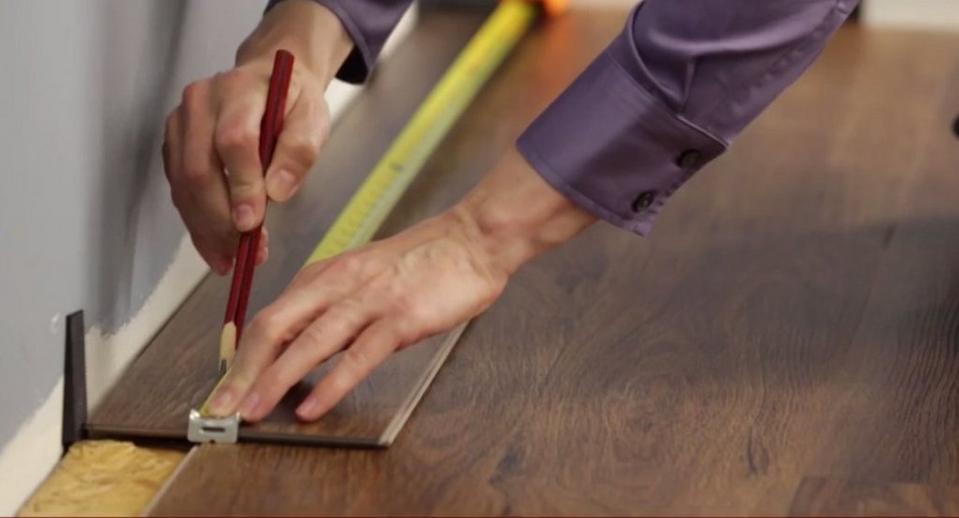
Read the instructions carefully and begin by laying the first plank on the left side of the wall, using ¼ inch spacers and leaving a ½ inch expansion gap.
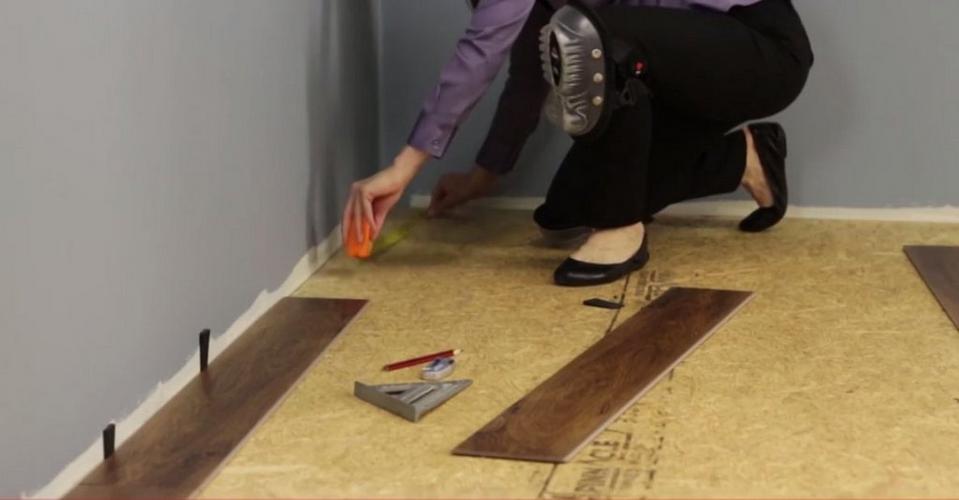
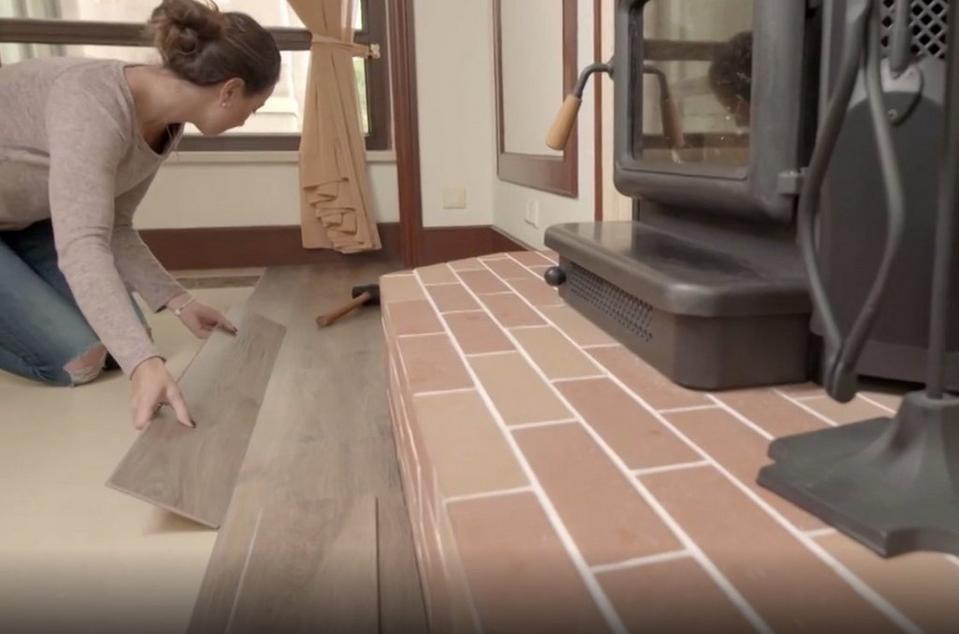
Install the next plank at an angle, click it into place and tap the end joints, continuing down the row. To fit the last plank in the row, measure and score with a utility knife, then snap the plank along the cut.
The Second Row & Beyond:
Start the second row with a leftover plank that’s at least 12” long. Insert the tongue into the groove, tap it into place and gently tap the rows together to eliminate all gaps between any of the long sides.
Stagger the planks and continue until you reach the last row, which should be at least 2” wide.
Finish!
Measure and cut the last row to fit, then insert the cut planks against the wall. Remove spacers before installing moldings to cover the expansion gaps.
Enjoy a job well done, and look forward to easy cleanups with your beautiful, 100% waterproof NuCore floor!
NuCore can be installed in areas over six times larger than laminate flooring, without unsightly transition moldings. Plus, it’s extremely durable and features a lifetime residential warranty and a 15-year commercial warranty.
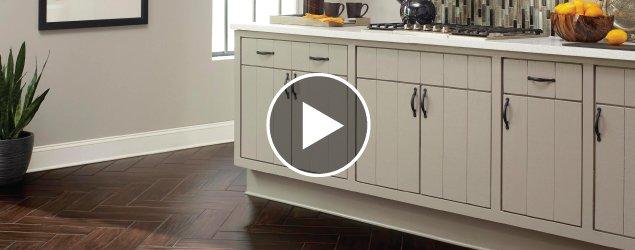
Watch the full video to see these installation tips in action:

Resources

INSPIRATION

VIDEO